the perfect pair for any cake
Jump to Recipe
What’s better than butter? Initially, I would say nothing. After second thought, however, I can only think of one thing: brown butter. And what’s better than brown butter? Again, there’s only one thing: extra-brown brown butter. (I know, I know, technically that would mean there were actually two things better than butter, but you get the point.)
But how do you make butter extra brown? With a secret ingredient – powdered milk.
When you brown butter, you are essentially just toasting the milk solids in the butter. So, why not add more toasted milk solids to add more “brown” to your butter? This is very easily achieved by toasting nonfat powdered milk.
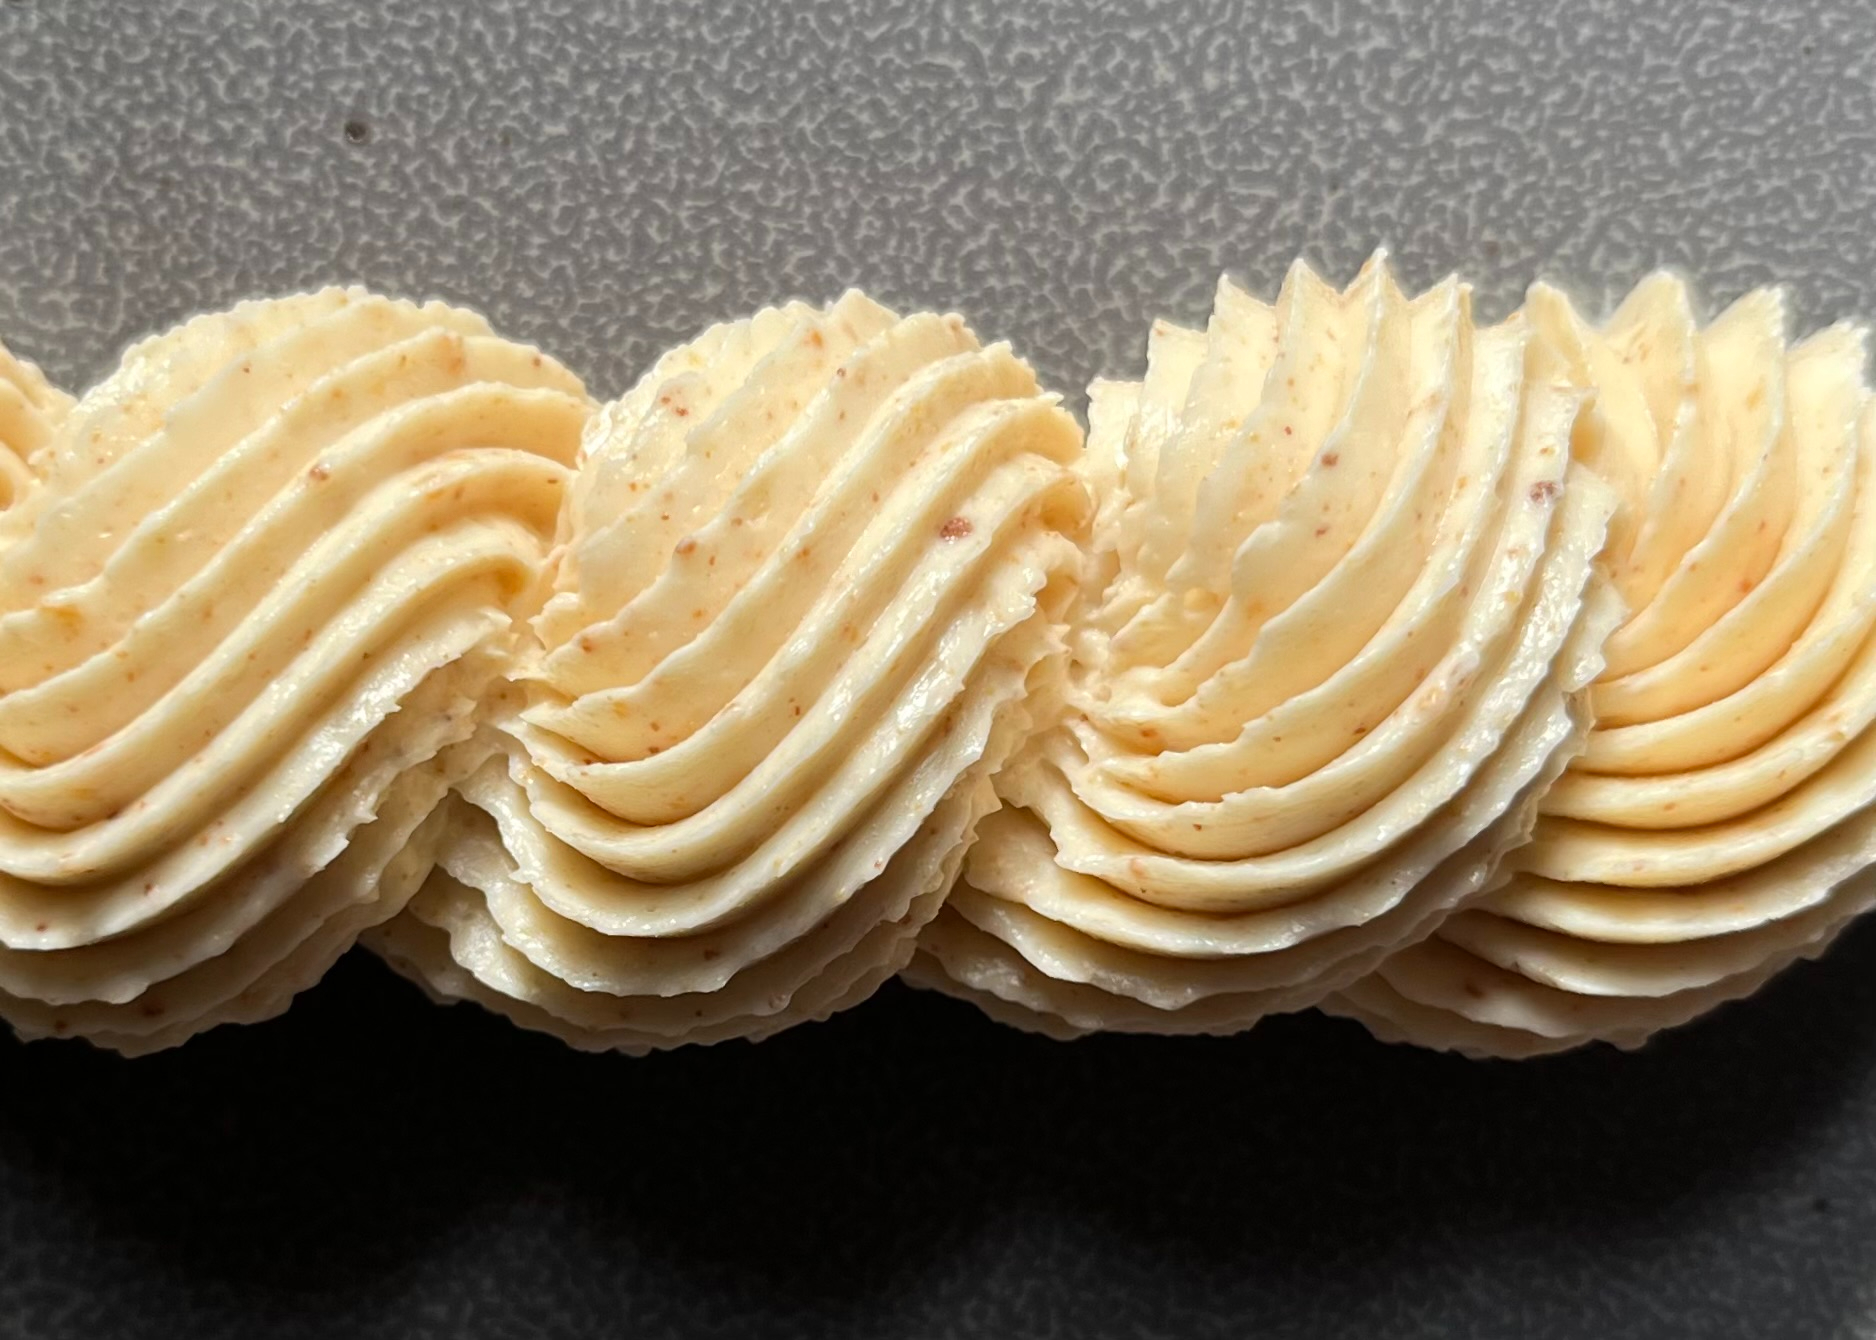
And that is exactly the start to my brown butter Swiss meringue buttercream recipe. My recipe uses three parts regular butter to one part (extra-brown) brown butter. This allows the buttercream to maintain the stability that solid butter brings to a traditional Swiss meringue butter cream, while taking on all the flavor of the brown butter.
It’s the perfect pair to, well, pretty much any cake. Or you can just eat it by the spoonful. It’s up to you really.
Recipe Tips
Tips for Browning Butter
- Use a light colored pot. This will allow you to more easily see what color your butter is.
- Have a heat-safe bowl ready to go before you start browning your butter. This process goes very quickly, and you want to be able to stop the cooking process as soon as the butter is that perfect amber brown color
- Stir constantly. This will prevent the milk solids from sticking to the bottom of the pan. But more importantly, It will allow you to keep a very close eye on the color of the butter. It can go from perfectly golden brown to burnt in a matter of seconds.
- Watch for the foam. As your butter simmers, you will see it begin to foam up at the top.
- Use your nose. When you start to smell that nutty caramelization, you’ll know that the butter is almost ready to go.
Tips for Swiss Meringue Buttercream
- If you are using a stand mixer, you can save a bowl and use the mixer bowl on your double boiler.
- Begin heating the water for your double boiler as you measure your ingredients. This will cut out some of the prep time of waiting for your water to heat up once your ingredients are ready.
- Weigh your ingredients if you can. There’s no guarantee your eggs are the correct weight or that each cup of sugar is the same weight. So you will get the most accurate results for this recipe with a kitchen scale (I would argue this for most recipes as well).
- Do not let any bit of egg yolk into the mixture. Crack each egg into a bowl individually before separating the white from the yolk. Once they are safely separated, add the white to a separate bowl. This way, if the yolk breaks, you only lose one egg instead of a whole bowl full.
- Whisk together your sugar and egg whites before you put them on the double boiler. This will prevent you from making scrambled egg whites.
- Stir almost constantly. You’ll want to keep the sides of the bowl scraped down so that the mixture doesn’t stick.
- Just as with weighing the ingredients, I recommend using a kitchen thermometer for the most accurate results. Take your meringue mixture all the way to 175°F.
- If you do not have a kitchen thermometer, you can do a feel test. To do this, pinch a bit of the meringue mixture between your fingers. If you can still feel grains of sugar, it is far from being ready. When the sugar has dissolved and the mixture begins to feel snotty (sorry for the analogy, but it’s the most accurate descriptor), your meringue mixture is ready.
- At the point of transferring your meringue mixture from the double boiler to the mixer, make sure that all of your mixing equipment is perfectly clean and dry. I have sadly lost more than one batch of meringue due to failing to clean my whisk or not drying my mixing bowl thoroughly enough.
- If you transfer your mixture to a different bowl from the double boiler, be careful not to drip any water from the bottom of the double-boiler bowl into the mixing bowl. I do this by setting the double-boiler bowl onto a towel quickly before pouring the mixture into the mixing bowl.
- Beat your meringue at top speed. However, if you take the mixer straight to top speed, it may splatter. Move in intervals of a few seconds at each speed until you reach the max to avoid splashing.
- Look for a few signs to know that the meringue is ready: stiff peaks, a cooler bowl, and little splatters of meringue.
- Stiff peaks: The most telltale sign that your meringue is ready is that when you dip in your beater and pull it out, the peak that it leaves is stiff and does not flop or fall over when you move the beater around.
- Cool Bowl: when you first add the meringue to the bowl it will be hot to the touch. When the meringue is ready the bowl will feel tepid and no longer hot to the touch.
- Splatters: When the meringue starts to leave tiny splatters around the top edge of the mixing bowl, this is another sign that it is nearing or at stiff-peak consistency.
- Make sure your butter is room temperature. If it is too cold or too hot, your buttercream won’t come together properly.
Tips for Toasting Nonfat Milk Powder
- I have tried both adding the milk powdered to the butter when I brown it and toasting the milk powder separately in the oven, and I have found that I get better results by toasting the powder in the oven.
- As with browning butter, this process goes quickly, so you’ll want to keep a close eye on the milk powder while you are toasting it. Check on it every 2 minutes while toasting and stir each time to prevent the edges from burning.
- When the milk powder reaches an amber brown color, it will also start to slightly clump together. When you pull it out of the oven, mix it well to break up the clumps. When it is cool, break up any remaining clumps with your hands.

Brown Butter Swiss Meringue Buttercream
4
cups45
minutesToasted milk powder adds an extra nutty and caramelized quality to this classic Swiss meringue buttercream while maintaining all of its stability
Ingredients
4 Tablespoons nonfat dried milk powder
454g unsalted butter, room temperature, divided (4 sticks)
325g granulated sugar (1 1/2 cups + 2 Tablespoons)
190g egg whites (approximately 6 large egg whites)
1/2 teaspoon kosher salt
1/4 teaspoon lemon juice
Directions
- Start by browning 113 grams (1 stick of the butter). Using a light-colored pan will help with seeing when the butter is brown. Slice the butter into chunks and place them in a pot over medium heat.
- Let it simmer, stirring constantly. This will take about 5-10 minutes. The butter will foam up and begin to smell nutty and caramelized. The milk solids should be a dark amber color when ready.
- Immediately transfer the brown butter to a heat-proof bowl to stop the cooking process. Set the bowl of brown butter into a bowl of ice and whisk it until it cools to a solid. Set aside.
- Heat oven to 300°F
- Line a baking sheet with parchment paper and spread the milk powder out evenly on it. Toast the milk powder in the oven for 5-7 minutes, stirring every 2 minutes so that the edges do not burn. The milk powder should be a dark amber color when ready. Set aside.
- Whisk together the sugar and egg whites in a bowl. Place over a double boiler on high heat and cook to 175°F, stirring constantly. This will take 5-10 minutes.
- Transfer the mixture to the bowl of a stand mixer. Beat on high until stiff peaks form. This will take about 10-15 minutes.
- Add in the remaining 339g of butter (3 sticks), the browned butter, and the browned milk powder and beat until silky and smooth. This will take about 2-5 minutes.
- Store at room temperature for up to one week.
Recipe Video
Notes
Leave a Reply